STEP-BY-STEP INTERIOR CLEANING PROCESS
Taking The Guess Work Out Of Interior Detailing…
By Bud Abraham, Detail Plus
Interior detailing is often overlooked by detailers who seem to believe their skill as a detailer is exclusively dependent on their ability to restore a paint finish to a flawless, scratch-free glossy shine.
However, the interior is just as important, if not more important, than the exterior of the vehicle, since this is where the motorist spends their time, in a motor vehicle.
Moreover, women drivers are especially sensitive to the vehicle interior, more so than men. Considering that more than 50 percent of the drivers on the road today are women and they account for more than 58 percent of the automotive services purchased, today’s detailer needs to focus more on learning about the materials in the interior and how to effectively clean and restore them to a like-new condition.
Interior Materials
To give you an idea of how complicated proper and professional interior cleaning can be, listed below are the many materials that are used in today’s vehicles.
- Headliners: fabric or plastic
- Seats: all types of synthetic fabric, leather or vinyl, plastic edges
- Dashboards: vinyl, plastic
- Panels: clear plastic covering
- Carpets: almost all automotive carpet is nylon
- Console and Glove Box: interior material
- Door Panels: plastic, vinyl, carpet material
- Glass: plain, tinted, film covered
- Wood-Grain trim
- Carbon Fiber Trim
- Painted Surfaces
Knowledge
A true professional will be able to identify all of the materials, and not only understand the nature of the material, but also identify cleaning problems and have the tools, chemicals, and knowledge of correction procedures. It should never be “guess and trial and error.”
I would hate to think my doctor worked on my body with that kind of mentality. To make an analogy, doctors are educated and tested to ensure they understand every organ in the body, have the knowledge of every disease that can affect these organs and, in most cases, are knowledgeable on how to correct the problem. On the other hand, if they are not able to diagnose the problem, they know what they don’t know and they refer you to a specialist. With this knowledge, the doctor can diagnose the problem, find out what it is, and find a solution.
Let us use an example closer to home—the auto mechanic. You bring him your vehicle that is not operating properly. He asks you to tell him what is happening and then he will do a couple of things:
- Listen to the car
- Take it for a test drive to ascertain the problem
- Hook it to a computer to see what it says
In short, he diagnoses the problem to determine how to fix it. Then, a professional auto repair specialist will have all of the equipment, tools, and access to the supplies and chemicals needed to repair the problem.
Equipment, Tools, Supplies And Chemicals
True professional detailers will not only have the knowledge of the materials they will be working with and the knowledge of how to correct the problem, but they also will have all of the equipment, tools, supplies, and chemicals required to make the correction.
It does not make much sense to know your materials, be able to identify the problem and know how to correct the problem but not have the necessary equipment, tools, supplies, and chemicals to do the cleaning and correction.
Unfortunately, that is still sometimes the case. A while ago, I conversed with a local mobile operator who considered himself a detailer. In reality, all he was doing was washing the vehicle with waterless wash and vacuuming the interior with a home-style carpet cleaner. He knew little about paint finishes or the chemicals used to correct paint-finish problems. He knew even less about the materials used in the interior of a vehicle.
Fortunately, however, that scenario is changing as more and more detailers are becoming members of the International Detailing Association and becoming certified by the IDA.
- Equipment
So what equipment do you need to clean and detail today’s interiors? The following list is what every detailer who claims to be a professional should have in their tool arsenal:
- Powerful Vacuum
- Heated Soil Extractor
- Vapor Steamer
- Ozone Generator or Fogger
- Interior Dryer
- Tools
- Shampooer: air or electric
- Nylon Scrub Brushes
- Parts Cleaning Brush
- Detail Brushes
- Detail Tool Brushes
- Razor Blade Scraper
- Supplies
- Microfiber Towels: one for glass, one for chemicals
- Q-Tips
- Scrubby Pads
- Dressing Applicator Pads
- Floor mats: either plastic or coated-paper
- Seat Covers
- Loose Items Bags
- Plastic or Metal Razors
- Chemicals
The professional philosophy regarding chemical use is this: Use chemicals for what they were formulated to be used for. In other words, carpet shampoo for carpets; glass cleaner for glass; extractor shampoo for use in extractors; leather cleaners for leathers; etc.
As obvious as this might seem, far too many detailers use a degreaser, which is formulated to “burn” dirt off metal engine parts as a carpet and interior cleaner. Of course, it works. Dish soap could be used to wash your hair, but you would not, or should not do that because of the damage to scalp and hair.
- Stain Removers for all types of stains
- Extractor Shampoo – a non-foaming shampoo
- Carpet Shampoo – foaming type
- All Purpose Cleaner – a low pH alkaline cleaner for leather, vinyl, plastic
- Glass Cleaner
- Water-Based Dressing
- Leather Conditioner
- Fabric Protectant – anti-stain treatment
- Fragrance
- Biological Odor Eliminator
Keep in mind that you do not absolutely need every piece of equipment, such as a vapor steamer, but they do aid in getting a more effective and faster cleaning. Neither do you need an ozone generator, but it is very effective in eliminating odor.
Step-By-Step Procedures
Even with all of the right equipment, tools, supplies, and chemicals at hand, if you do not have proper procedures this can be for naught if you or your employees miss or skip steps in the cleaning and shampooing process.
For that reason, as well as reducing the time to complete the job, you need a step-by-step procedure for a complete interior detail.
There can be many ways to detail an interior, but the one below was developed from a time-and- motion point of view to ensure that each and every part of the interior is cleaned or shampooed, and treated with the least amount of wasted motion and time.
Interior Cleaning Steps
- Preliminary Steps
- Read the Service/Repair Order for instructions.
- Open doors and evaluate condition of interior
- Remove floor mats front and back. Give to person cleaning trunk or clean/shampoo immediately and place near the rear of the vehicle to dry/
- Push front seat all the way back.
- Use loose items bag to bag loose items (front & back), use a separate bag for glove box and one for console. Set bags on rear seat. Never remove bags from the vehicle as they will never get back in the correct vehicle.
- Remove ashtrays front & back, clean and dry, and immediately replace in the vehicle. Be sure to clean area around ashtray before replacing.
- Flip down sun visors.
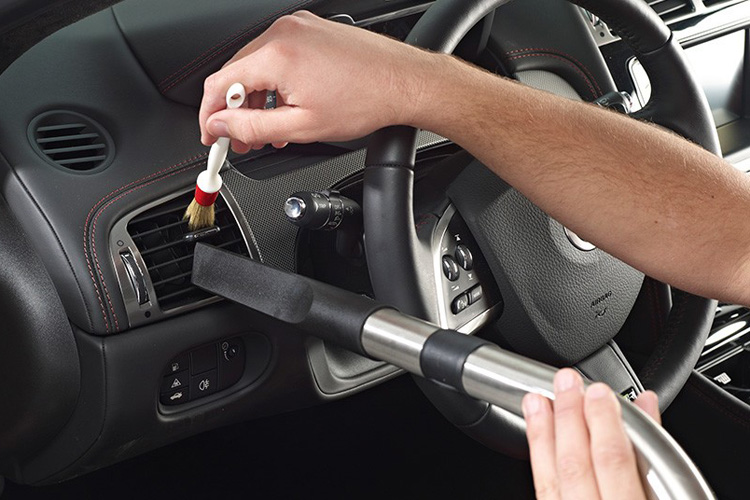
- Use the air blower to blow out entire interior (front & back), concentrating on dash, panel, vents, under seats and cracks and crevices in seats.
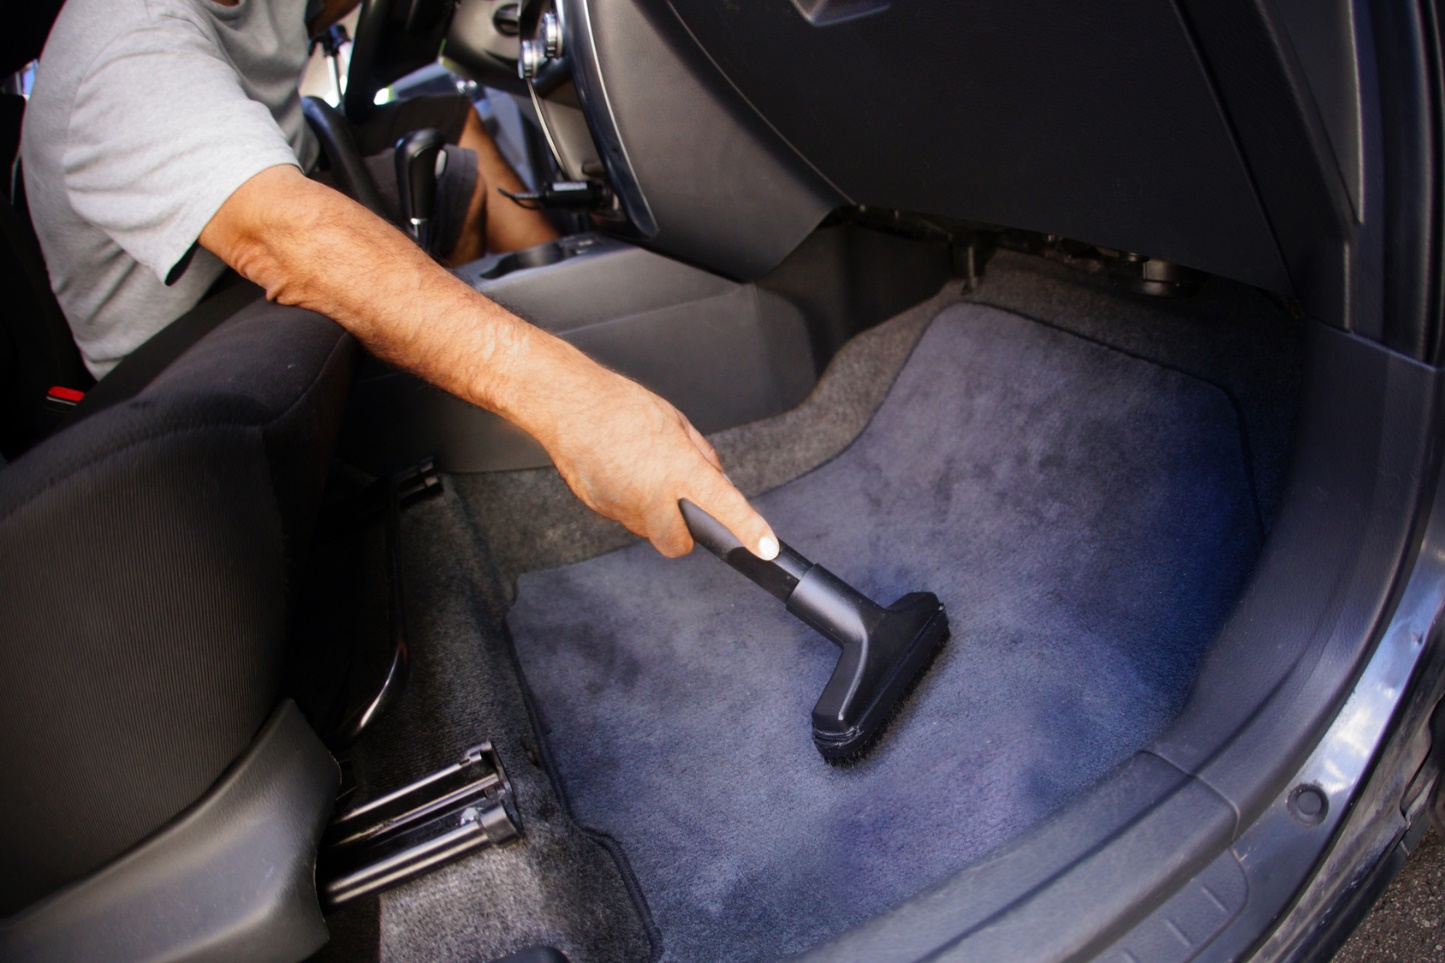
- Vacuum the entire interior: carpets, seats, panels, etc.
- Apply appropriate spot remover (front & back) to all heavy spots on carpets, seats, door panels, etc.
- Cleaning Steps
- Starting on driver’s side, clean headliner, front half.
- Clean sun visors, visor mirror, and rear-view mirror.
- Clean trim around doors and front window.
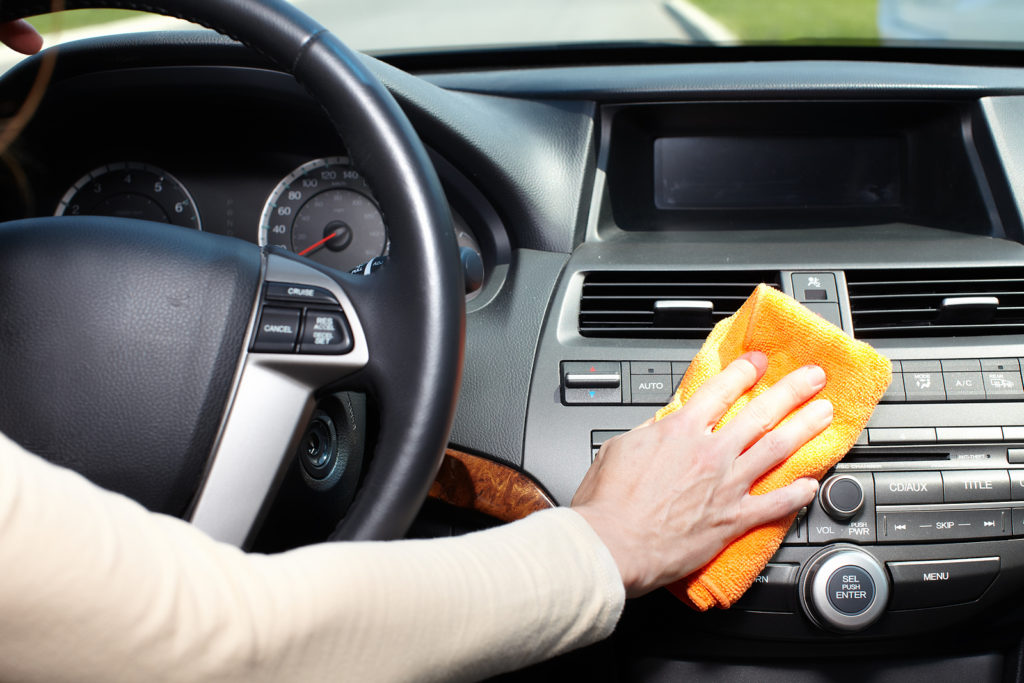
- Clean/scrub dashboard.
- Clean panel, steering column and glove box.
- Scrub spots/stains on front carpets.
- Apply shampoo and friction shampoo carpets (if necessary).
- Using extractor, extract all shampoo and dirt residue.
- Fabric Seats
- Scrub spots/stains on fabric seats.
- Apply shampoo & friction shampoo seats (if necessary).
- Using extractor, extract all shampoo and dirt residue.
- Using Scrubbie clean/scrub center console and the plastic around the seats.
- Vinyl/Leather Seats
- Scrub vinyl/leather upholstery with Scrubbie or rotary shampooer and wipe dry.
- Using Scrubbie, clean/scrub center console and the plastic around the seats.
- Clean/shampoo front seat belts.
- Push the front seat all the way forward.
- Scrub spots/stains on front door panels.
- Clean/shampoo door panels using a Scrubbie, nylon scrub brush or rotary shampooer. Wipe dry and/or extract residue.
- Spray door jamb and door edges with an all-purpose cleaner (as needed) and wipe dry
- Rear
- Place loose items bag (s) on front seat.
- Clean the headliner, back half from front to rear.
- Clear rear window deck (be sure to blow out dirt near window).
- Fabric seats: see steps 19 – 22.
- Vinyl/leather seats: see steps 23 – 24.
- Clean/shampoo back of front seats following procedures for either fabric or vinyl/leather upholstery.
- Scrub spots/stains on rear carpets.
- Apply shampoo and friction shampoo carpets (if necessary).
- Using extractor, extract all shampoo and dirt residue.
- Scrub spots/stains on rear door panels.
- Clean/shampoo rear door panels using either a Scrubbie, nylon scrub brush, or rotary shampooer. Wipe dry and/or extract residue.
- Spray door jamb and door edges with an all-purpose cleaner (as needed) and wipe dry

- Dressing/Conditioning
- Starting on the driver’s side, move front to back and dress all vinyl, leather, and rubber in the interior. Wipe off with dry towel for satin finish.
- Window Cleaning
- Spray all interior windows and mirrors with glass cleaner.
- Using window towel, clean each window individually and dry.
- Put all windows down and clean top edge, put up again.
- Final Inspection
- Make complete check of interior, looking for dirt on carpets, improper application of dressing, dirty/smeared windows, and correct any problems.
- Do a final vacuum (if necessary).
- Spray deodorizer under front seats.
- Insert plastic floor mats, seat cover, litter bag. Do not place on wet seats or carpets. Let dry and place in vehicle prior to customer picking up the vehicle.
- Install window sticker service reminder (if used).
Well, there you have it, a complete anatomy of what is needed to end up with a clean and flawless interior. Two detailers using the recommended equipment, tools, supplies, and chemicals—and following the procedures outlined above—were able to clean the inside of an average dirty Chevrolet Tahoe in 36 minutes, a total of just under 1.5 man-hours.