GETTING TO GREY
Color-Matching Principles: Part 2…
By Doug Snow and Kian Amirkhizi
Getting to grey does not only refer to the inevitable process of aging. Rather, in the context of leather and vinyl repair, it’s a major game-changing concept in mixing colors. If you haven’t read our last column (which appeared in the June 2018 edition of MTD), go back and read it. It will provide the much-needed preface to better understanding this article.
We have trained hundreds of students and always during the color theory section, we see quite a few blank stares. The process of mixing color is straight forward, but the theory can be a bit more challenging. An important concept to understand is the idea of primary colors cancelling each other, which, coincidentally, is also the path to grey.
The Other Two Will Kill You
To help our students understand the idea of color cancellation, we developed a game to drive the point home. We got the students out of their chairs, went out into the beautiful Southern California sunshine and had them physically demonstrate the concept of getting to grey. We also called it “the other two will kill you” game.
Four students “volunteered.” They were given a circular rope with three of the primary colors attached to the rope and spaced equidistant apart. For the purposes of the demonstration, the students became a color wheel—each one identifying as a primary color. The fourth was the grey man and represented the middle area of the color wheel.
To illustrate the idea of color cancellation, two of the students, say red and blue, would combine to gang up on the third primary color, yellow. Red and blue together make violet. So red and blue would actually join forces to “get” yellow. So now the violet team comes together to “kill” yellow. Thus “the other two will kill you” axiom. The grey man stands in the middle of the circular rope, simulating the color as a result of mixing all three primaries together.

 To demonstrate the concept of getting to grey, three students hold the rope, with each one representing a primary color—blue, red or yellow. A fourth person in the middle area represents grey.
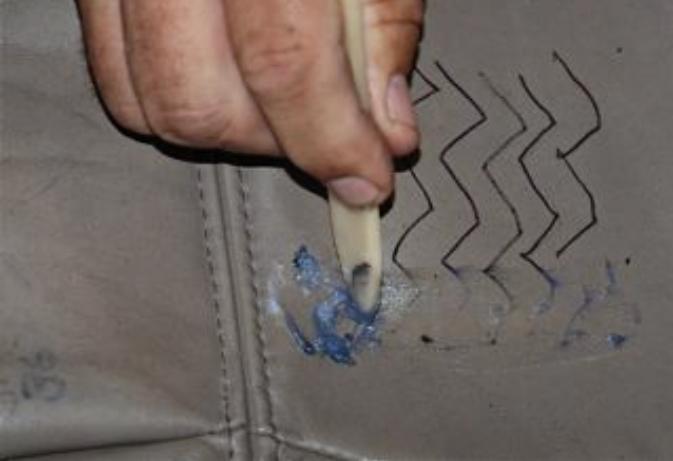
So what’s the practical application of this? Consider you are mixing a tan. As you spray a color check, the color is noticeably too red. There are three primary colors, yes? So what are the other two? Yellow and blue. Which make green. Therefore adding green to the color will cancel or “kill” a color that is too red. If you look at a color wheel, you will notice that opposite colors occupy opposite geometric locations. That’s for a reason.
The Starting Points
Consider the true pigment color starting point. There are no real, true primary colors, they only exist as a hypothetical construct. In reality, they are always contaminated with traces of other primaries.
For example, maybe your yellow has a hint of red—it’s no longer true yellow but a highly yellow saturated orange. What does this do to your color? Imagine trying to hit a tan that leans to the yellow side. Every time you add this “yellow” you start by making it grey. The problem is that usually you are unknowingly introducing a third primary color, which does what? Correct! Turns it to grey.
The workaround is having a few sources of the primary pigments. This allows you to select the proper primary color that leans most closely to your destination hue. But understanding this concept helps to avoid the reason why “you just can’t hit the color.”
There are no Hard Colors
Some have expressed that certain colors are more difficult to mix, such as greens. But in reality, there really are no difficult colors. If you truly understand subtractive color theory, you apply the same technique and systematically work towards the color. What might be the issue are primaries that are not true starting points.
Again, take the idea of mixing green. If the yellow has any red, every time you add yellow you will take the color to a more avocado color. That’s because you are adding a third color. Anytime there are three primaries, the color is muted, or grey.
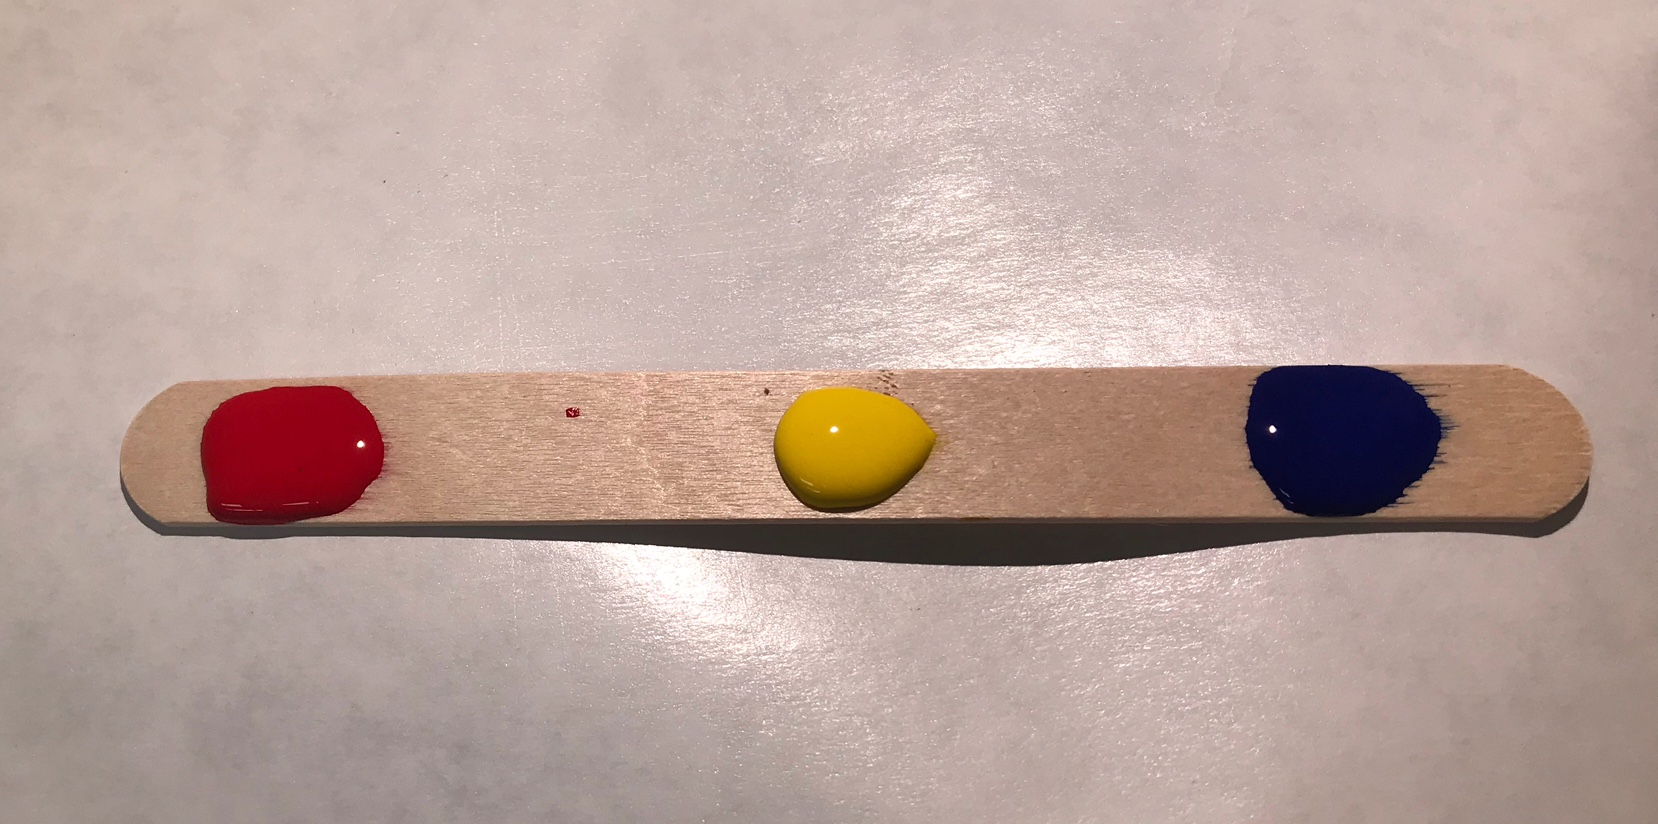
Practical tip: Let’s say you are stuck on a color and cannot determine the direction to go. Grab a Popsicle stick and place three drops of each of the primary colors, red, yellow and blue, on the stick. Use this as a reference point to see the direction you need to move your color. Remember, no matter how difficult it appears, there are only three colors!

Understanding Relative Pigment Strengths
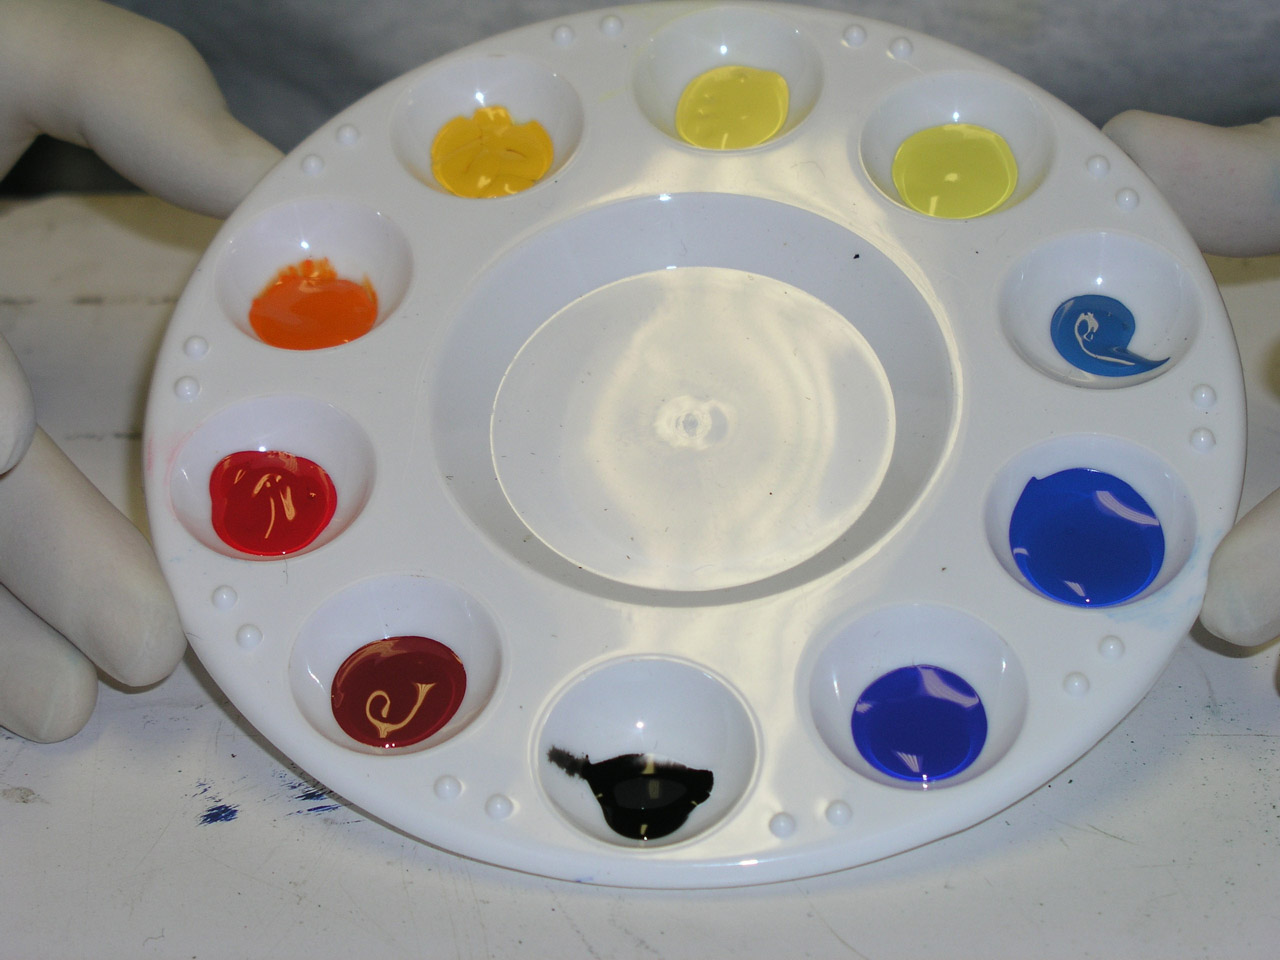
In theory, mixing pigments should behave a particular way, but in reality, they don’t! A concept to understand is the relative pigment strengths. In other words, different pigments will affect your color in varying degrees. One drop of blue can change the color dramatically, but one drop of yellow does little to change it. You must learn to operate within the parameters of how your pigments affect your mix. Blue is the strongest, red is next and yellow is the least.
Practical tip: Be few with the blue! Use with caution. One drop at a time. Best to gradually add the blue and test for color correctness. Adding too much blue can potentially change the direction of your color so drastically that you are better off starting over.
Think of your mix as a series of ratios. Each color occupies a portion of the overall mix. If too much of a strong pigment is added, the ratios are so out of balance that to correct, you would double or triple the overall size of mixed color.
Consider this example for further clarification: Let’s say you are mixing 100 ounces of color, of which, 75 ounces are white, 20 ounces are yellow, 4 ounces are red and 1 ounce is blue. By accident, you add two ounces of blue. To return the color to its proper proportional mix ratio, you would have to double the size of your mix. Which, in this case, would be going to 200 ounces. That’s potentially a considerable amount of unwanted color.
Red can also take the color in an unwanted direction, but not nearly as dramatically as blue. Different pigments may have varying levels of impact to your color, depending on the density of the pigment ratio to resin. Obviously, if you are using straight pigments, with no resin base, the impact is much more dramatic. Highly saturated pigment, the freeness from grey, has a more dramatic effect as well.
Practical tip: The yellow will mellow! As you spray your mix for a color check, it should always appear a tad more yellow than the actual color you are trying to achieve. Yellow pigment in its wet state dissipates as it dries. Understanding that dynamic is a great way to speed up the process when mixing a color.
As some of the more senior technicians will acknowledge, we are all getting to grey eventually. A little more grey on the noggin is supposed to mean that you are wiser. Using the color theory concept of subtraction is proof of that. Working smarter is a sign of efficiency, and that usually means higher profits, better results and higher quality.
Tune in to the next issue for Part 3, the final installment of our three-part series on “Getting to Grey.” We will discuss more practical tips and talk about furniture colors.